Recessed Lighting Layout Guide: Spacing, Sizes & Placement (Room by Room)
Recessed lights are the easiest lights to get wrong and the hardest to fix. Once the holes are cut, the layout is in your ceiling for good.
Quick summary:
| Rule | What to do |
|---|---|
| Spacing between lights | Ceiling height divided by 2. 8 ft ceiling means about 4 ft apart |
| Distance from the wall | Half the spacing. About 2 ft from the wall on an 8 ft ceiling |
| 4-inch vs 6-inch | 4-inch for task light and small rooms. 6-inch for general light in large rooms |
| How many lights | Count jobs, not cans. Fewer lights plus lamps beats a full grid |
| Light colour | 2700K warm white, dimmable, CRI 90+. Same in every room |
| Before you cut | Mark every light, check joists, test two lights first |
How Far Apart Should Recessed Lights Be?
Spacing determines how evenly your room is lit without casting weird shadows or turning your ceiling into a grid pattern:
- The Core Spacing Rule: Divide your ceiling height by 2. An 8-foot ceiling requires roughly 4-foot spacing between lights; a 9-foot ceiling takes 4.5 feet, and a 10-foot ceiling uses 5-foot spacing.
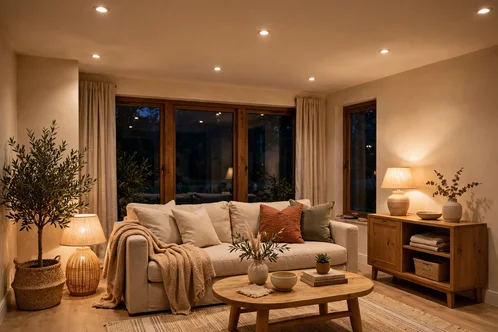
- Distance From Walls: Place the first row of lights at half the spacing distance from the wall (e.g., 2 feet away on an 8-foot ceiling). Too close causes harsh scallops; too far leaves dark walls.
- Wall Washing Over Floor Lighting: Aiming lights to illuminate walls and artwork does far more for room ambiance than scattering cans randomly across the ceiling.
4-Inch vs 6-Inch: Which Size?
Selecting the right fixture diameter changes both the aesthetic and functional spread of your lighting:
- 4-Inch Fixtures: Best for task lighting and rooms under 120 sq ft, such as over kitchen counters, reading nooks, hallways, or powder rooms.
- 6-Inch Fixtures: Ideal for general ambient lighting in larger living rooms, open plans, and high-ceiling master bedrooms.
- Consistency Rule: Use a single fixture size per room ceiling to maintain a clean visual aesthetic across the home.
How Many Lights Does a Room Need?
Rather than placing as many fixtures as will fit, calculate based on actual illumination needs and lumens:
- Calculate Total Lumens: Standard 6-inch LED fixtures deliver 600 to 800 lumens. Calculate required lumens per square foot rather than counting physical cans.
- Layer With Secondary Sources: Never rely on recessed lights alone. Pair downlights with floor lamps, wall sconces, or pendants at eye level.
Room by Room Layouts
Every room serves a different function, so tailor your layout accordingly:
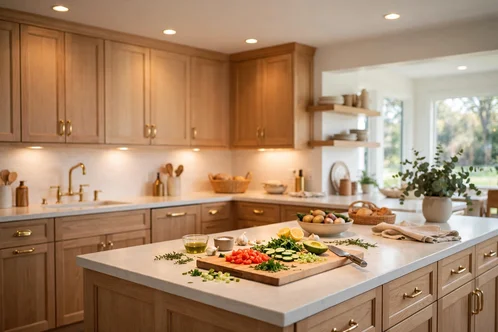
- Kitchen: Align lights 24 to 30 inches from the wall, directly over counter edges so you do not work in your own shadow. Position a separate row over the island.
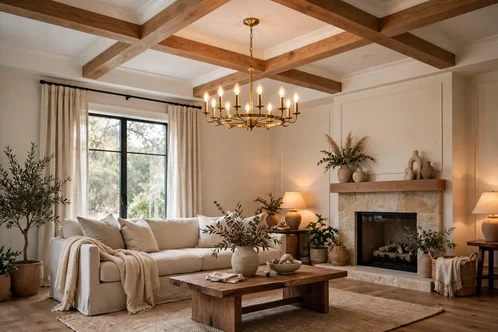
- Living Room: Focus perimeter lights on walls, artwork, and fireplaces using adjustable gimbals. Avoid placing cans directly above sofa seating.
- Bedroom: Use 4 to 6 warm (2700K) fixtures placed around the perimeter. Avoid placing downlights directly over bed pillows.
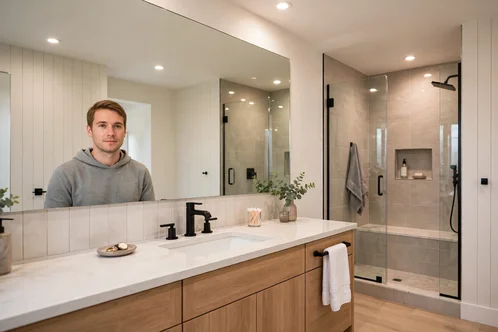
- Bathroom: Install wet-rated sealed fixtures in showers, and place vanity lights in front of or beside the mirror for glare-free facial illumination.
Plan Before You Cut
Avoid costly drywall repairs by double-checking your installation steps ahead of time:
- Joist & Obstacle Inspection: Use a stud finder to locate ceiling joists (typically 16 inches apart), HVAC ducts, and plumbing before drawing your layout.
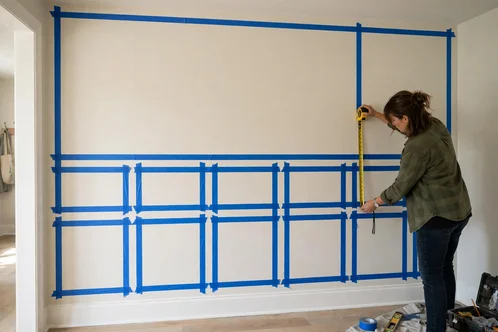
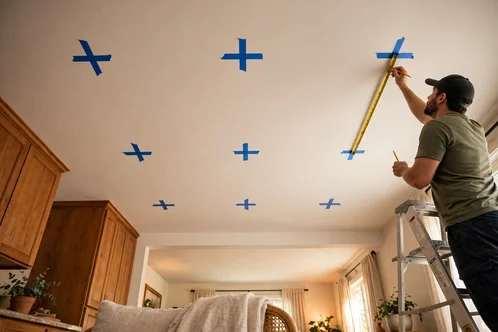
- Painter’s Tape Test: Mark light positions on the ceiling with tape crosses, check alignment with a laser level, and test lighting placement before cutting drywall.
Budget Picks
Estimated price reference for popular recessed lighting fixtures:
| Pick | What you get | Approx. price |
|---|---|---|
| Amico 12-pack canless wafer | 6-inch or 4-inch, 1,050 lumens, 5CCT, IC-rated | About $5 per light |
| Ensenior 12-pack canless | 6-inch, 1,050 to 1,200 lumens, 6CCT, dim 5 to 100 percent | About $6.36 per light |
| Halo RL56 retrofit | 5 or 6-inch, 90 CRI, dim-to-warm 3000K to 1800K | About $27 per unit |
| Juno WF6 canless | 970 lumens, 90 CRI, edge-lit, wet listed | About $17.32 per unit |
| Sunco 4-inch retrofit | 660 lumens, selectable 2700K to 5000K, CRI 90, baffle trim | Check live price |
*Note: Prices listed above are estimated approximations and may vary based on market fluctuations, store locations, or promotional offers. Always check current pricing and details before purchasing.
5 Mistakes to Avoid
- Rigid Grid Everywhere: Applying a uniform grid layout without considering room tasks or furniture placement.
- Lack of Dimmers: Wiring all cans to a single switch without dimming controls.
- Poor Placement: Positioning lights directly over sofa seats, bed pillows, or ceiling fan blades.
- Low CRI Bulbs: Using bulbs with CRI below 90, which makes wall colors and furnishings look washed out.
- Cutting Without Testing: Cutting ceiling holes before checking joist locations or testing with painter’s tape.
Where to Start
Begin by identifying the specific job for each light source—whether illuminating counter surfaces, highlighting artwork, or washing walls. Mark your positions on the ceiling with painter’s tape, wire two test lights first, and separate your lighting into independently dimmed zones.